
Window Replacement Massachusetts can add value to your home, especially if you choose double-hung windows. But it’s also important to make wise choices based on style, energy efficiency, and installation.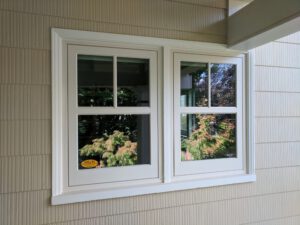
Installing new windows can be complicated, so consider hiring a professional contractor to do the work. This can cost $100-$300 per window.
If you want to make your home more comfortable and efficient, replacing your windows is a great way to do so. However, it is important to know the window replacement cost before you start your project. The price of window replacement can vary significantly by brand, style, and location. You should also consider the cost of installation and labor when estimating your total window replacement costs.
A good place to start is by comparing prices for different window brands in your area. This will give you a rough idea of the cost of window replacement, but keep in mind that price varies by installer and may include tax credits or rebates. You can also contact reliable contractors to get a more accurate estimate for your project.
In general, vinyl and fiberglass windows are more affordable than aluminum and wood frames. However, you should not ignore the difference in quality between these window materials. For example, aluminum frames are not a good insulator, while wood and composite frames are a better insulator. Additionally, composite frames are made of multiple materials, often a mix of wood and polymer plastics. This can help to increase durability and reduce the risk of moisture damage, which could lower your overall window replacement cost.
Whether or not to purchase energy-efficient windows is another factor that should be considered when determining your budget. It is estimated that energy-efficient windows can save homeowners between 7% and 15% in energy bills each year. This means that the money saved on energy costs will more than make up for the initial investment in new windows.
If you live in an older home, it is important to remember that the structure of your house may add to the cost of installing new windows. This is because older homes might require more work to install the new windows, including removing existing trim and other parts of the house.
It is a good idea to schedule your window replacement during temperate seasons to save money on installation and labor. It is also a good idea to hire professional contractors for the job, as they have the experience and tools necessary to perform the work quickly and efficiently. If you are a homeowner, it is possible to replace your own windows if you are familiar with using power tools like a drill and circular saw. However, it is a good idea to leave the more complicated projects, such as bay and bow windows or large arched windows, to the pros.
Energy Efficiency
Window replacement is a great opportunity to make your home more energy efficient. New windows can help seal the gap between the frame and the wall, improve indoor air quality by reducing moisture and condensation, and lower your energy bills through better thermal performance.
You can choose from two kinds of replacement windows: full frame and insert windows. For a full window replacement, the contractor will remove your existing frame and trim and install a new one along with your replacement window panes. This is the more expensive option. However, you may be able to save money by choosing an insert window instead. Insert windows fit directly into the existing frame without removing the trim or creating new sash openings, so they’re less expensive than a full replacement.
The energy efficiency of replacement windows depends on the frame material, type of glass, and insulating features. A good rule of thumb is to choose windows with low-emissivity (low-E) glass for maximum savings. Low-E glass reflects radiant heat and sunlight while still allowing in natural light and reducing cooling loads.
Aside from energy savings, window replacement can provide other benefits for homeowners, such as easier operation and a more attractive look. You can also choose from a wide range of window styles and customization options to complement your home’s architecture.
If you’re considering replacing your windows, check out what discounts and incentives are available from your local utility company and the National Fenestration Rating Council. Many states offer tax credits for energy-efficient window installations.
When scheduling your window replacement project, plan to do it during temperate weather if possible. Cold temperatures and precipitation can slow or halt the installation process, and moisture can affect the tight tolerances required for caulking. Similarly, extreme heat and sun can cause vinyl frames to expand and contract, leading to warping or cracking, which could compromise the insulation of your replacement windows.
Style
Window replacement provides homeowners with a chance to update the look of their homes. They can choose from a wide range of styles, frames, and add-ons to maximize energy efficiency, enhance curb appeal, and improve functionality. But with so many options to consider, it can be difficult for homeowners to find the right fit.
The type of frame, glass, and design will ultimately determine which windows are best for a given home and budget. Energy efficiency features to consider include low-emissivity coating, double or triple pane windows, and warm edge spacers.
Other considerations can include safety and functionality. For example, windows that do not open easily or shut entirely may pose a fire hazard in the event of an emergency. Cracked or single-pane glass and rotting frames and sashes are also good reasons to replace windows.
For new construction or replacement/retrofit projects, contractors typically use insert windows, which are designed to fit into existing window openings. They come in a variety of sizes and can be made from wood, vinyl, or fiberglass. Vinyl is the most popular choice because it’s durable, cost-effective, and available in a wide array of colors to match a home’s trim.
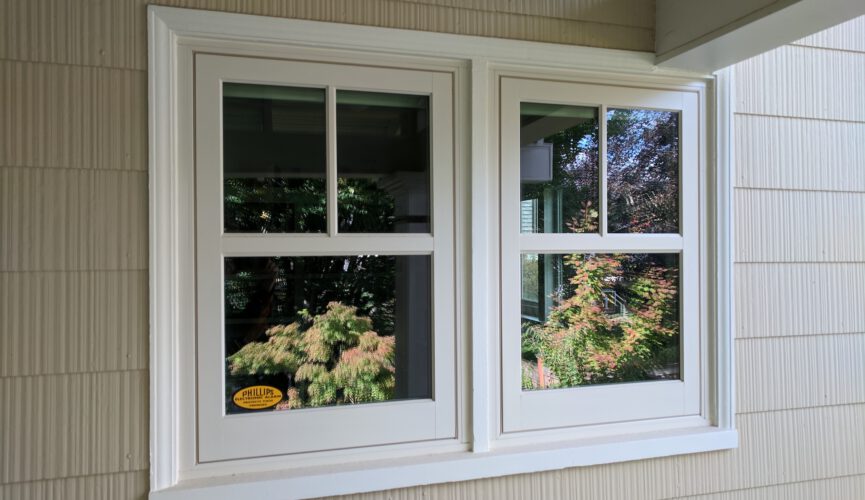
Double-hung windows are a popular choice for new homes and can be found in a range of architectural styles. They’re easy to open and close because they have vertical tracks and counterbalance springs or weights. However, large openings can make these types of windows a break-in hazard for determined intruders.
Casement windows are another popular option because of their sleek design and excellent ventilation. They can be opened by a crank handle located on the bottom of the window frame. These windows are not suitable for areas where a lot of rain falls, as they can allow water to pool in the window sill and cause rot.
Another great option for new construction or replacement/retrofit projects is awning windows, which open outward to the left and right. They provide excellent ventilation and are often a good choice for homes with tight spaces.
Bay or bow windows can also increase a home’s square footage and create an elegant focal point. They’re great for creating a view from a bedroom or living room and can be used to create an indoor-outdoor dining area, sunroom, or media room.
Installation
When it comes to window replacement, there are several factors that homeowners need to consider. These include window type, energy use and labeling, warranties and installation. The window type is one of the most important decisions because it can affect the overall look and function of your home. Window types are available in a variety of styles and materials, from wood to vinyl. There are also a variety of features, such as insulated frames and weather stripping, that can improve the function and efficiency of your windows.
If your current windows are damaged or leaking, it is a good idea to replace them. In addition to improving the appearance of your home, new windows will provide added security and reduce noise levels. New windows are also more efficient than older models and can help to lower your energy bills.
You should consult a professional installer to help you choose the best window for your home. They can help you decide between a full-frame or retrofit replacement, as well as the best type of window to suit your needs. They can also provide you with a free consultation and estimate.
Before the window installation crew arrives, you should remove curtains or blinds from the existing windows. You should also move any furniture away from the window openings. It is also a good idea to deactivate any alarm systems connected to your windows. If you have a security system connected to your windows, contact your service provider to schedule a time to disconnect and reconnect the sensors.
Installing a new window can be a tricky task, especially in old homes. When the window was installed originally, it was probably not anchored properly or caulked to the frame. Over time, the sash can pull loose or the sill can warp. In addition, the frame may be rotted and need to be replaced.
If the rotting is severe, it is best to replace the entire frame. This will give your home a fresh new look and increase its value. When replacing the frame, use high-quality construction wood such as fir or cedar. Avoid using plywood or particle board, as these will not last long.
